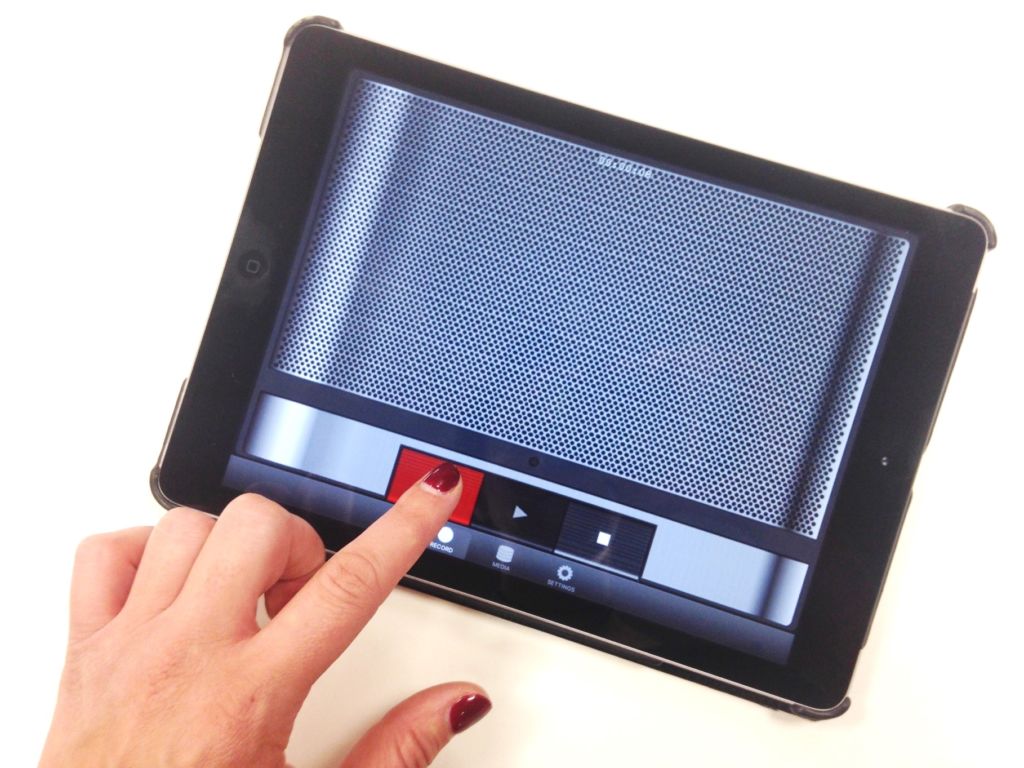
This is a step by step guide to using the MP3 Recorder for IOS. Before you start please download the App from the App Store and install on the IOS device (iPhone or iPad) you want to use for the recording of sound.
Open the App. You may see a message from the App requesting access to your device’s microphone. Tap ‘OK’.
To start recording, tap the big red button.
You will see a small red light and the timer at the top of the screen will show the length of the recording. To pause the recording, tap the big red button again.
To stop the recording, tap the Stop button.
When you tap Stop, you will be prompted to save your sound recording and give it a file name. Add a file name and tap OK.
To review and share your saved sound files, tap the Media icon at the bottom middle of the screen. You will see all of your saved files listed on the page.
To play a sound file back or to upload or share it, tap the file in the list to select it. The clip you select will automatically start to play.
To upload the clip to your Dropbox or other cloud storage account, tap the Share File icon on the right. This will open up your sharing options dialogue box.
Select the place you want to upload your clip to by tapping the relevant icon – in this example we selected Google Drive.
Make sure you can see the file you want to upload in the window, then tap Upload. Your sound recording file has now been uploaded to the cloud storage App you selected as an MP3 file, in this example Google Drive.